My family loves flying kites and it isn't unheard of for us to stick one in our suitcase if traveling, or under the stroller for some impromptu fun in the Windy City! Recently we returned from our annual trip to Charleston, SC and as I put the kite back in the closet I found myself wondering if it were possible to find a DIY kite that would be easy to do with my son's classroom. Before I could even open Pinterest I learned that one of my fellow Macaroni Kid publishers has a tested DIY tutorial and was willing to share it with me!
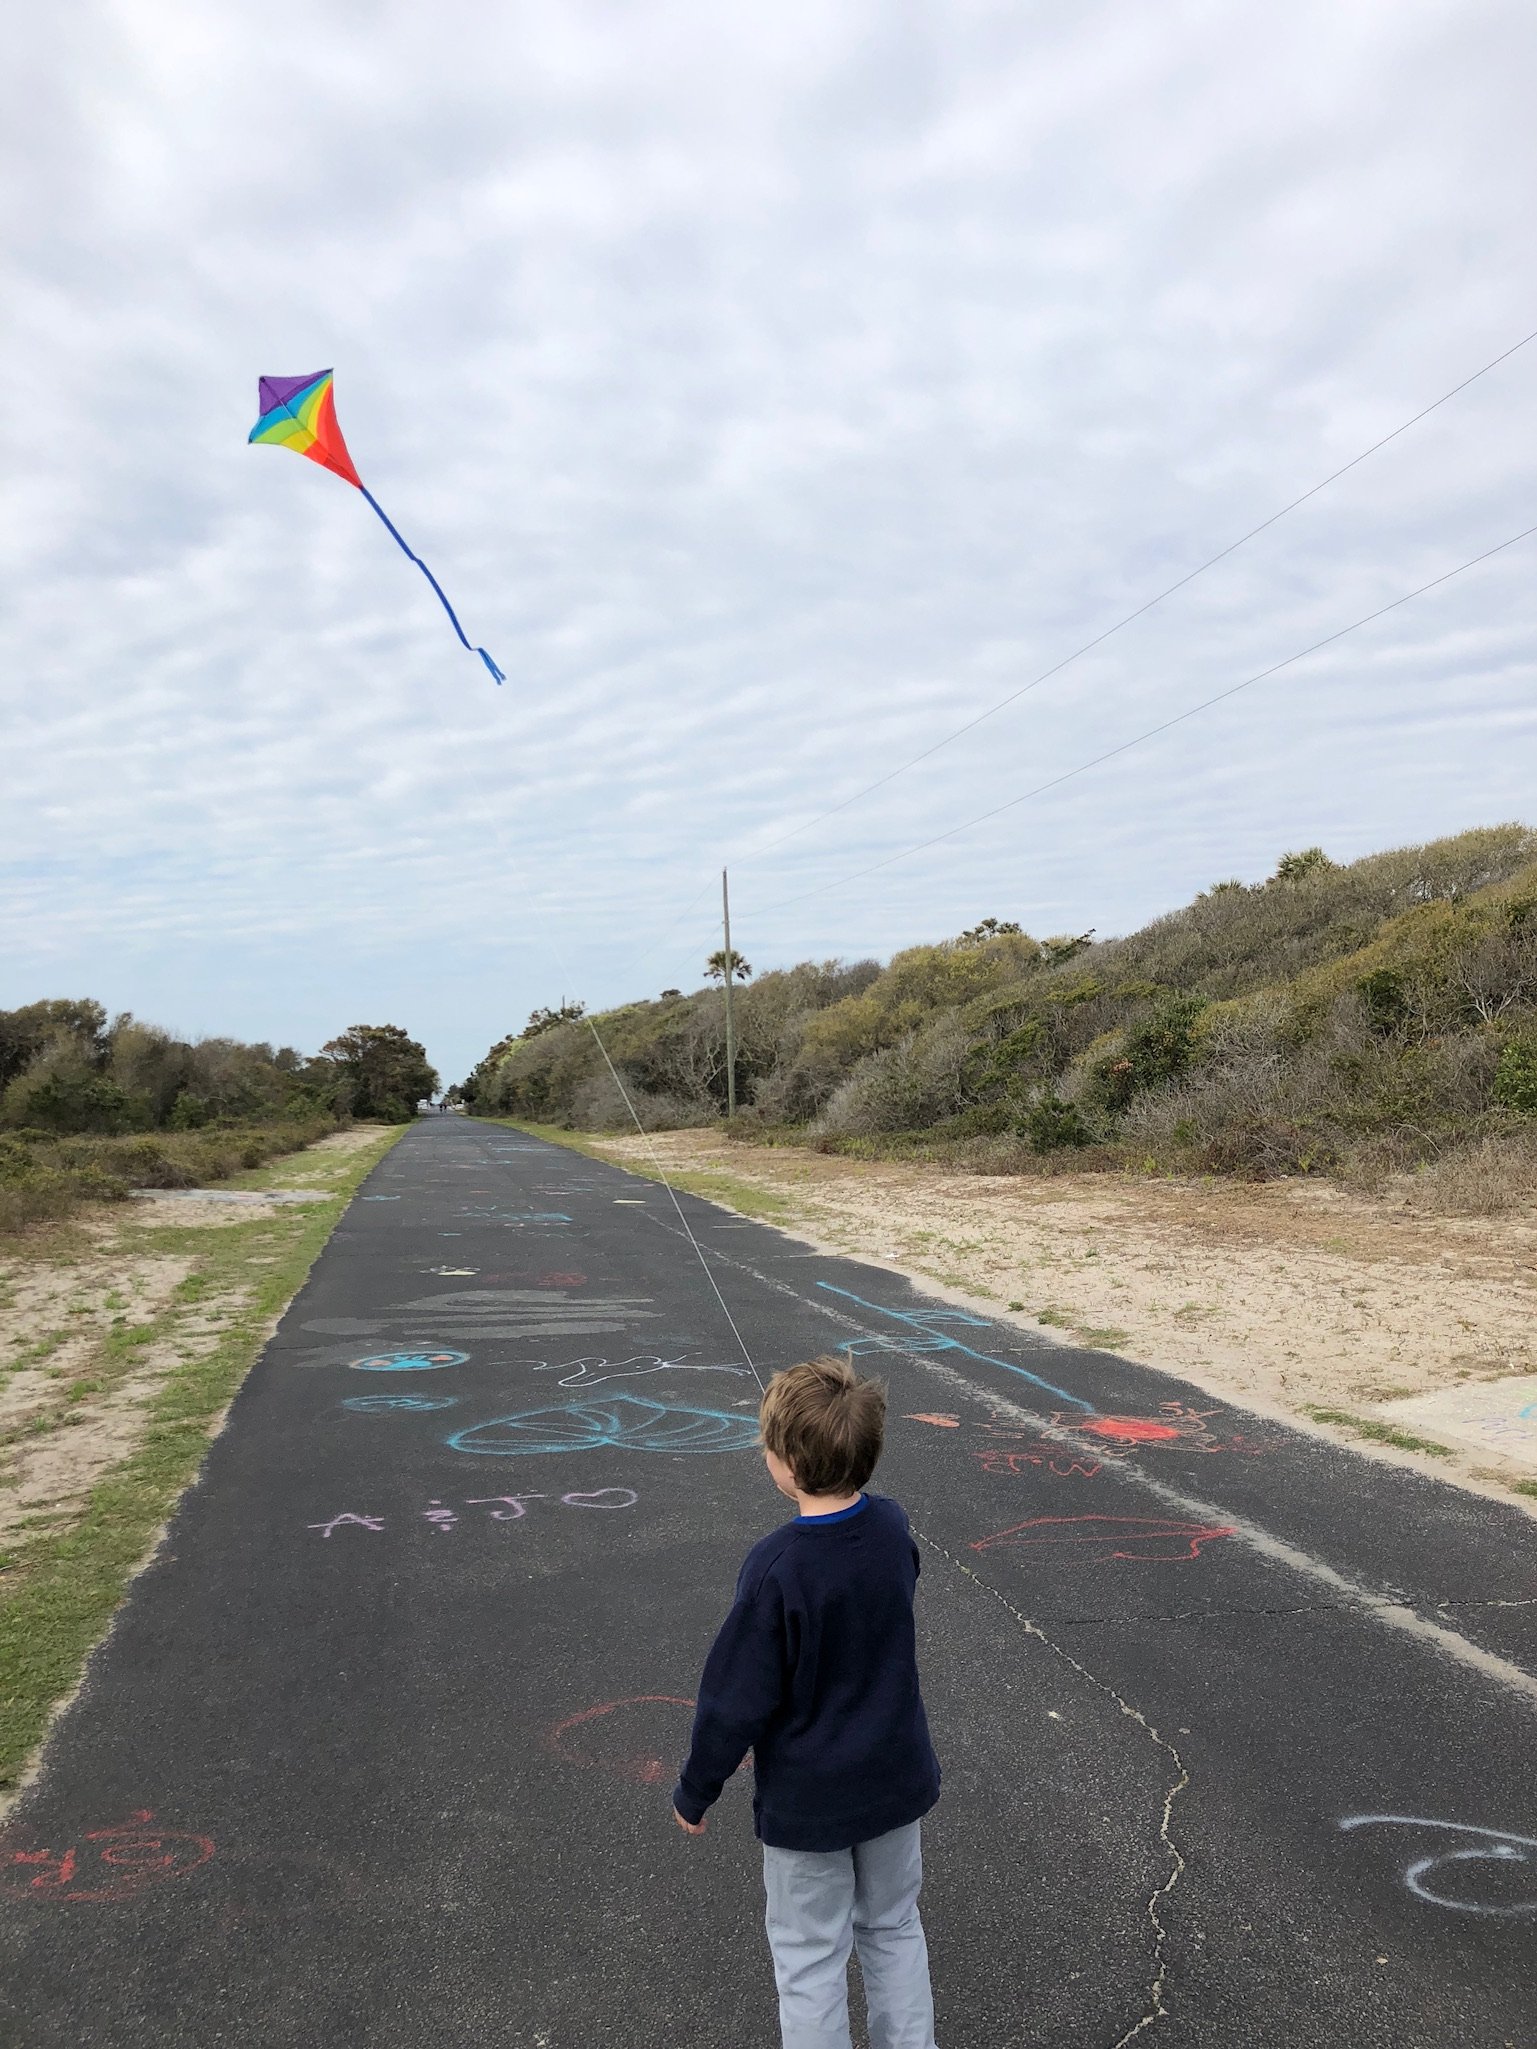
If you would like to make your own kites - as a family, with a scout troop or in a classroom, please read Valerie Fisher's DIY tutorial below. Make one now to have time to test and tweak it before the 21st Annual Chicago Kid and Kite Festival on May 4th.
Happy Flying Chicago!
DIY Kite Project by Valerie Fisher, Macaroni Kid Roseville-Rocklin-Lincoln, Calif.
Our whole class made kites when I was in elementary school. It was so much fun. Not everyone got their homemade kites up in the air, but we had fun trying!
I wanted to revisit this homemade kite project and found it was just as much a thrill to watch our kite take to the sky as it was when I was a child. Plus, the kids loved it, and it's easy for them to make!
Bonus: there's a good chance you have all the supplies you need already!
Here's how to make your own kite to fly on a windy spring day:
Supplies:
- Paper bag
- Tissue paper
- String
- Paint, markers, stickers, or washi tape
- Small piece of construction paper or cardstock
Instructions:
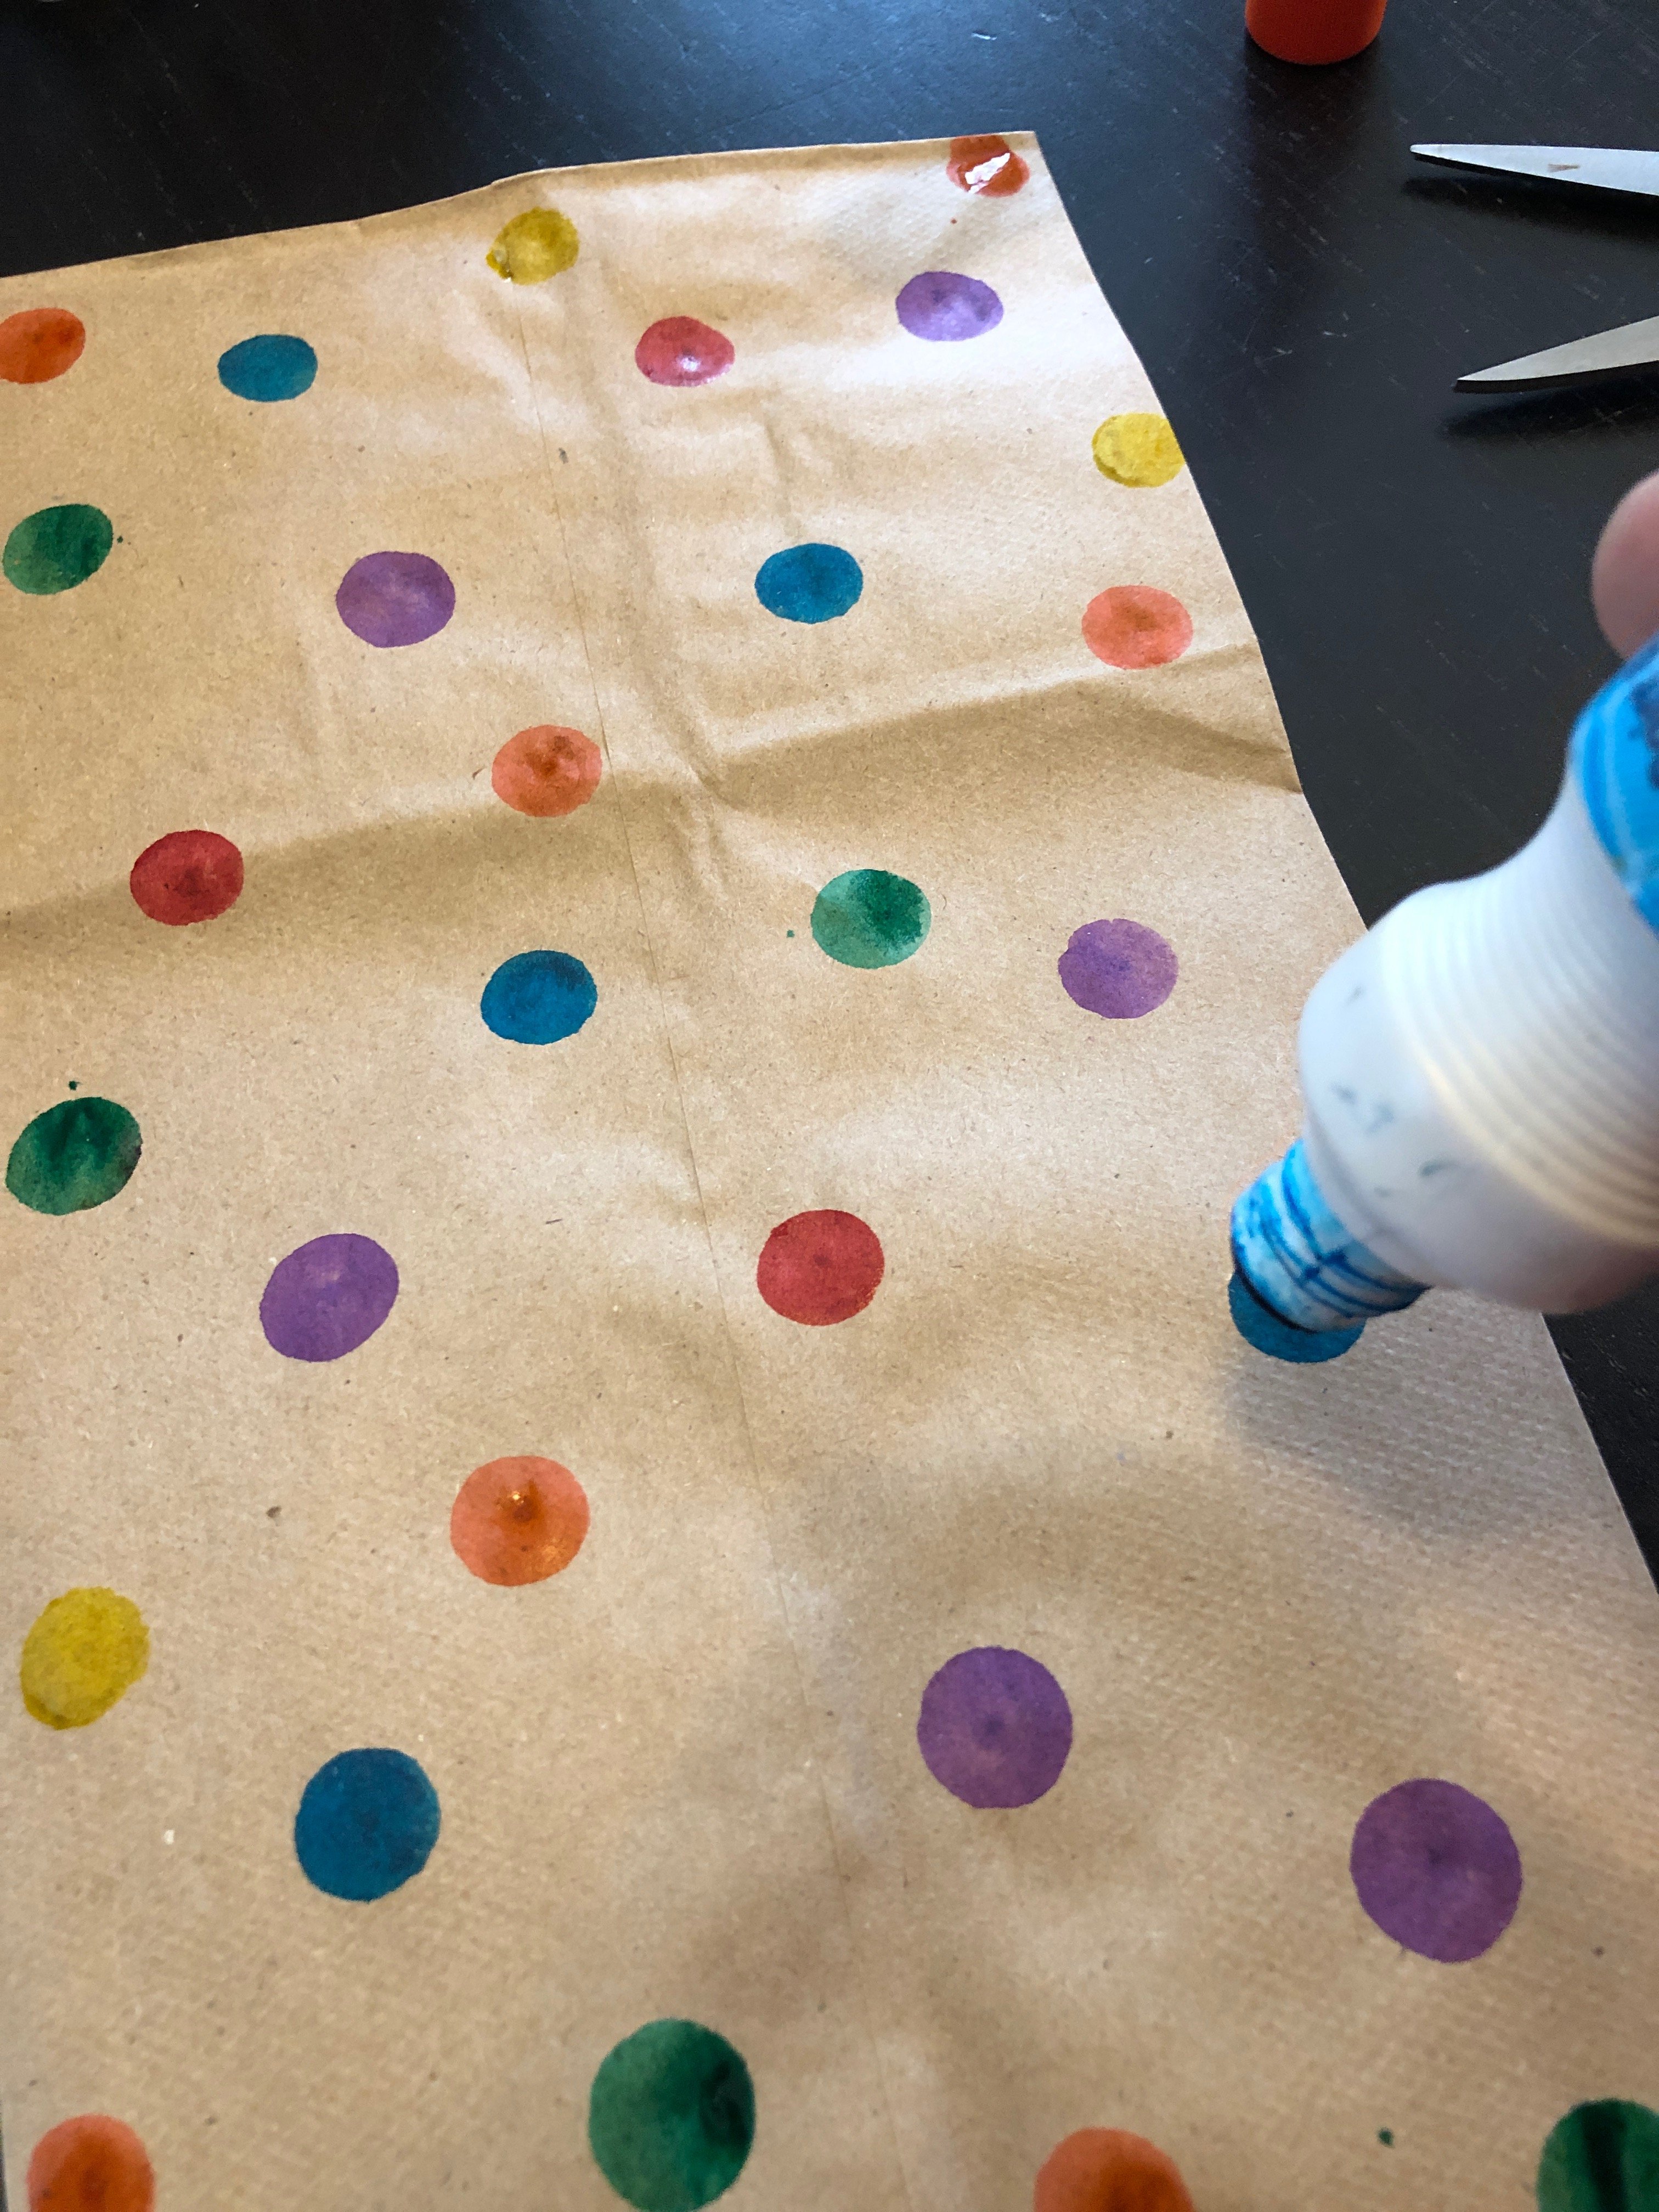
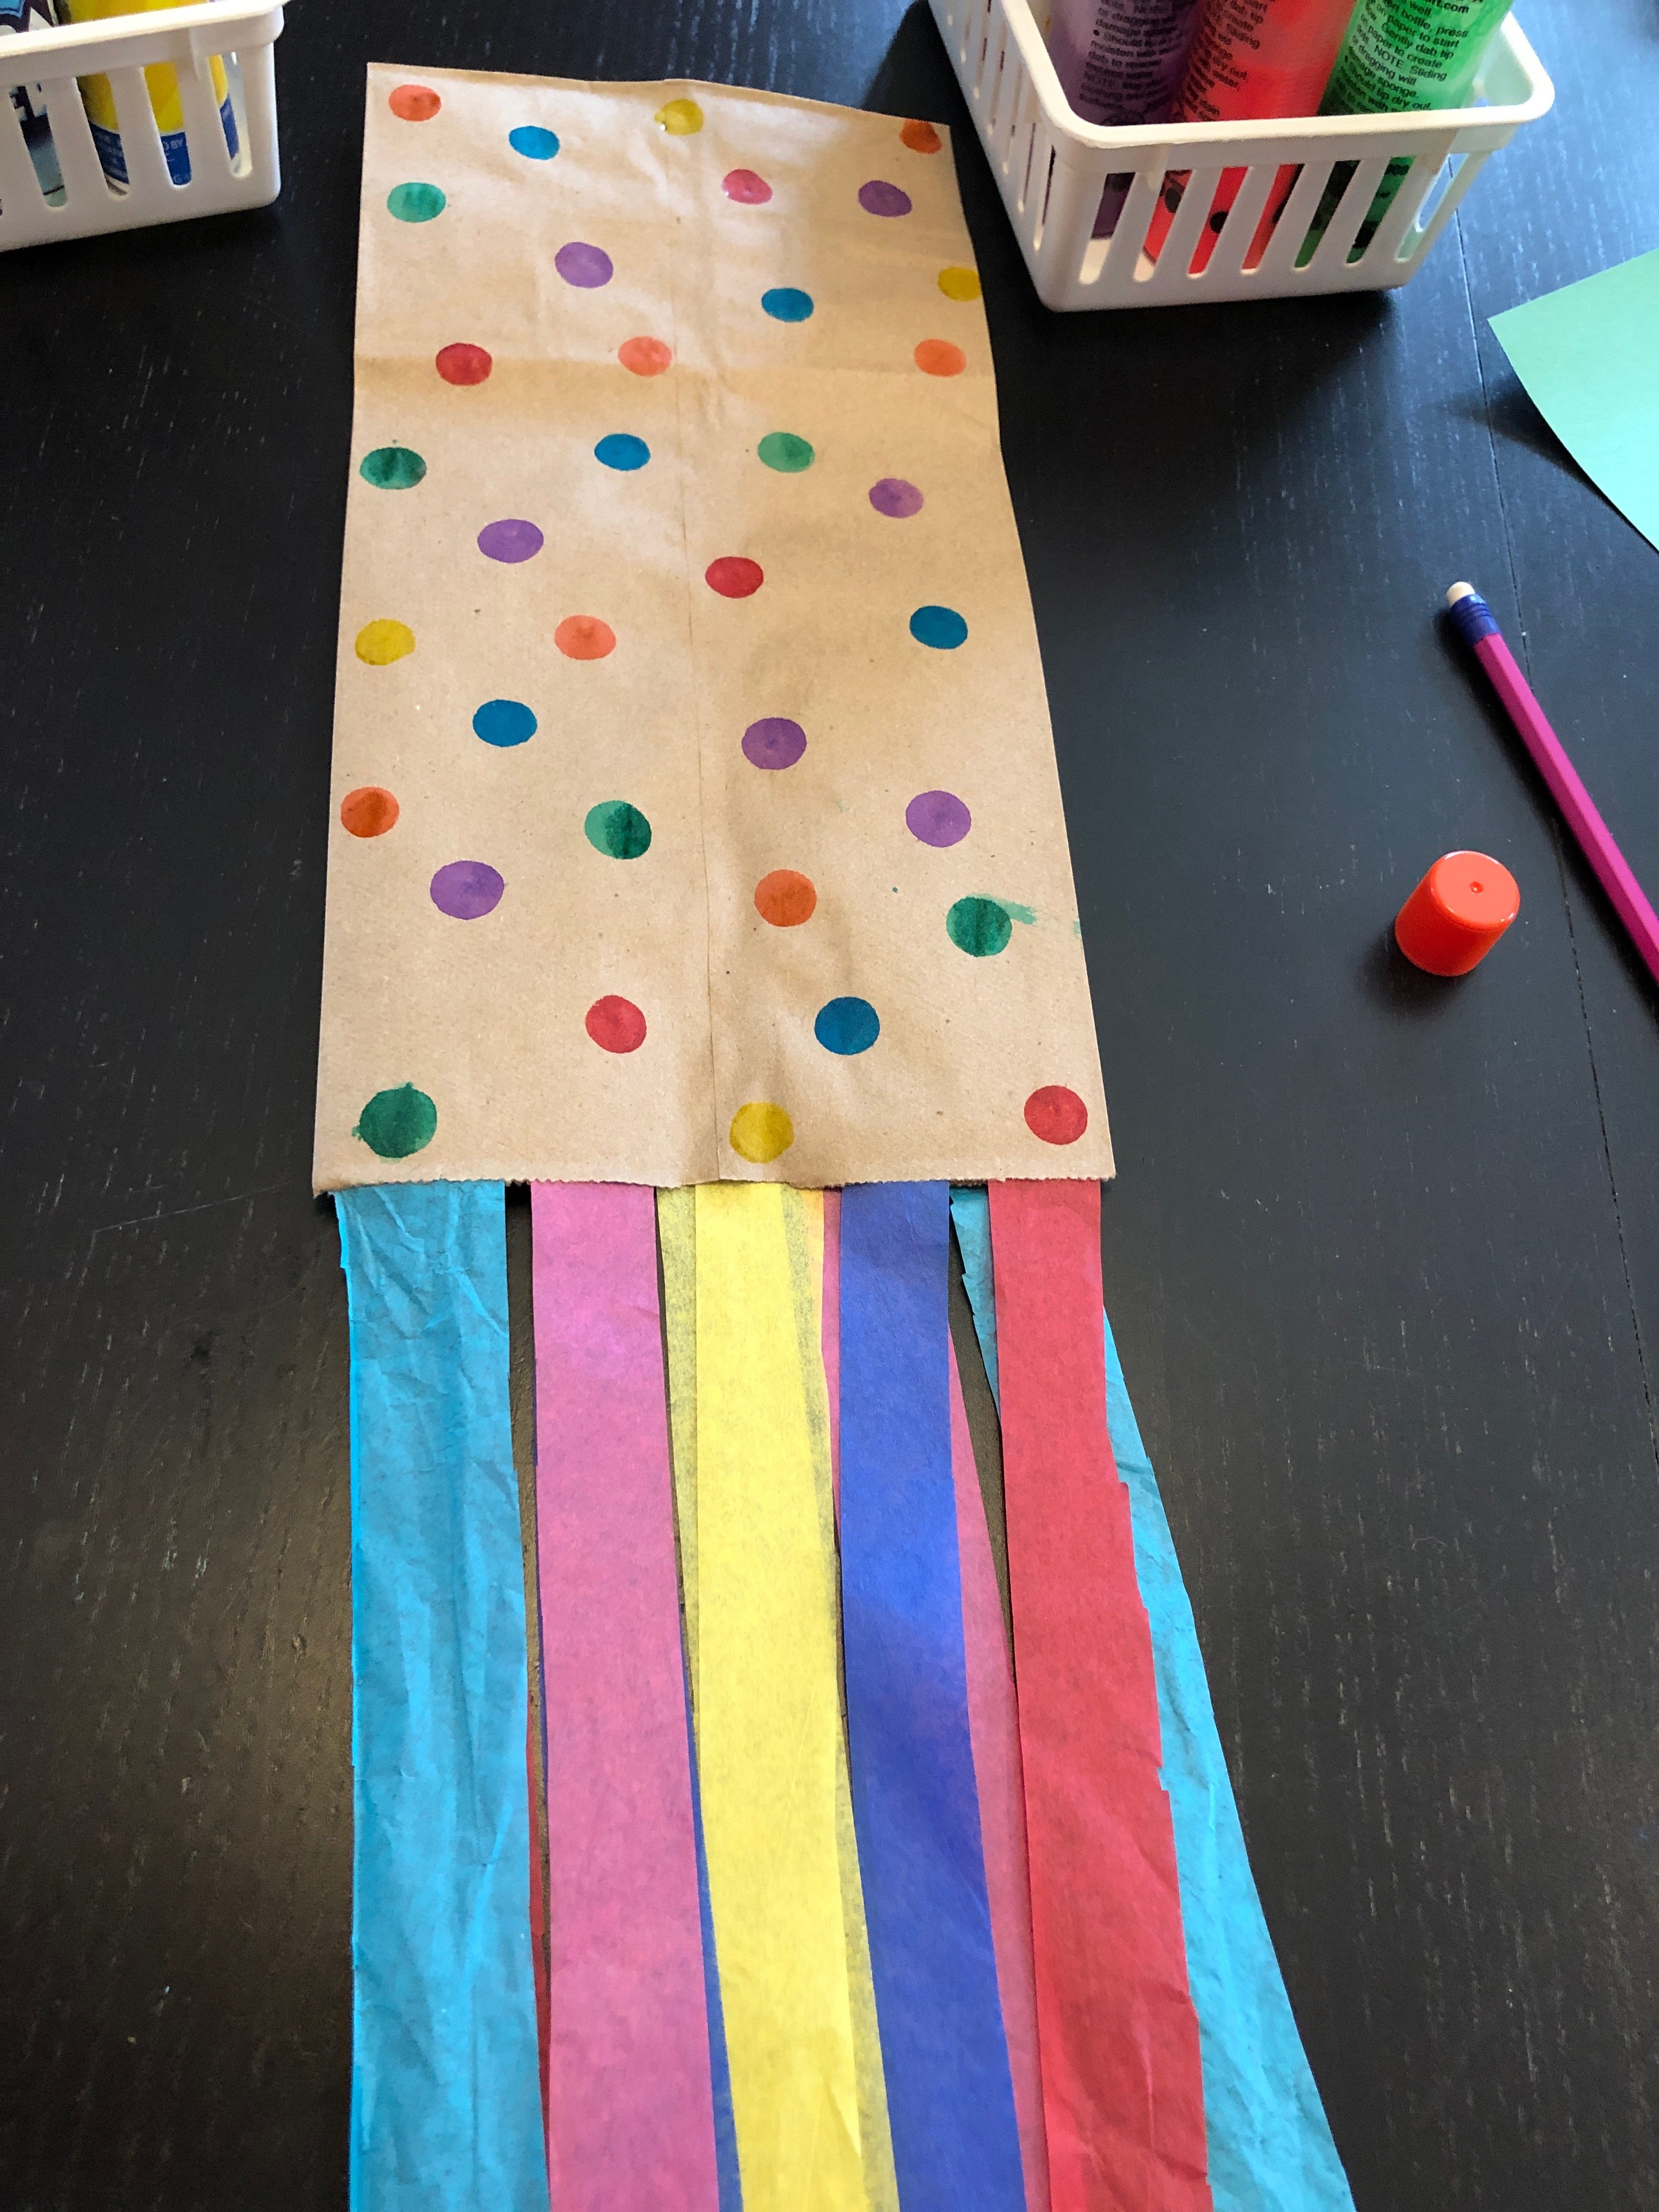
1. Let the kids decorate the paper bags however they'd like. (If they are using stickers, be sure they are regular thin stickers, not the thicker foam ones because they will add extra weight.) We used paint dot/daubers, which made for a mess-free project.
 |
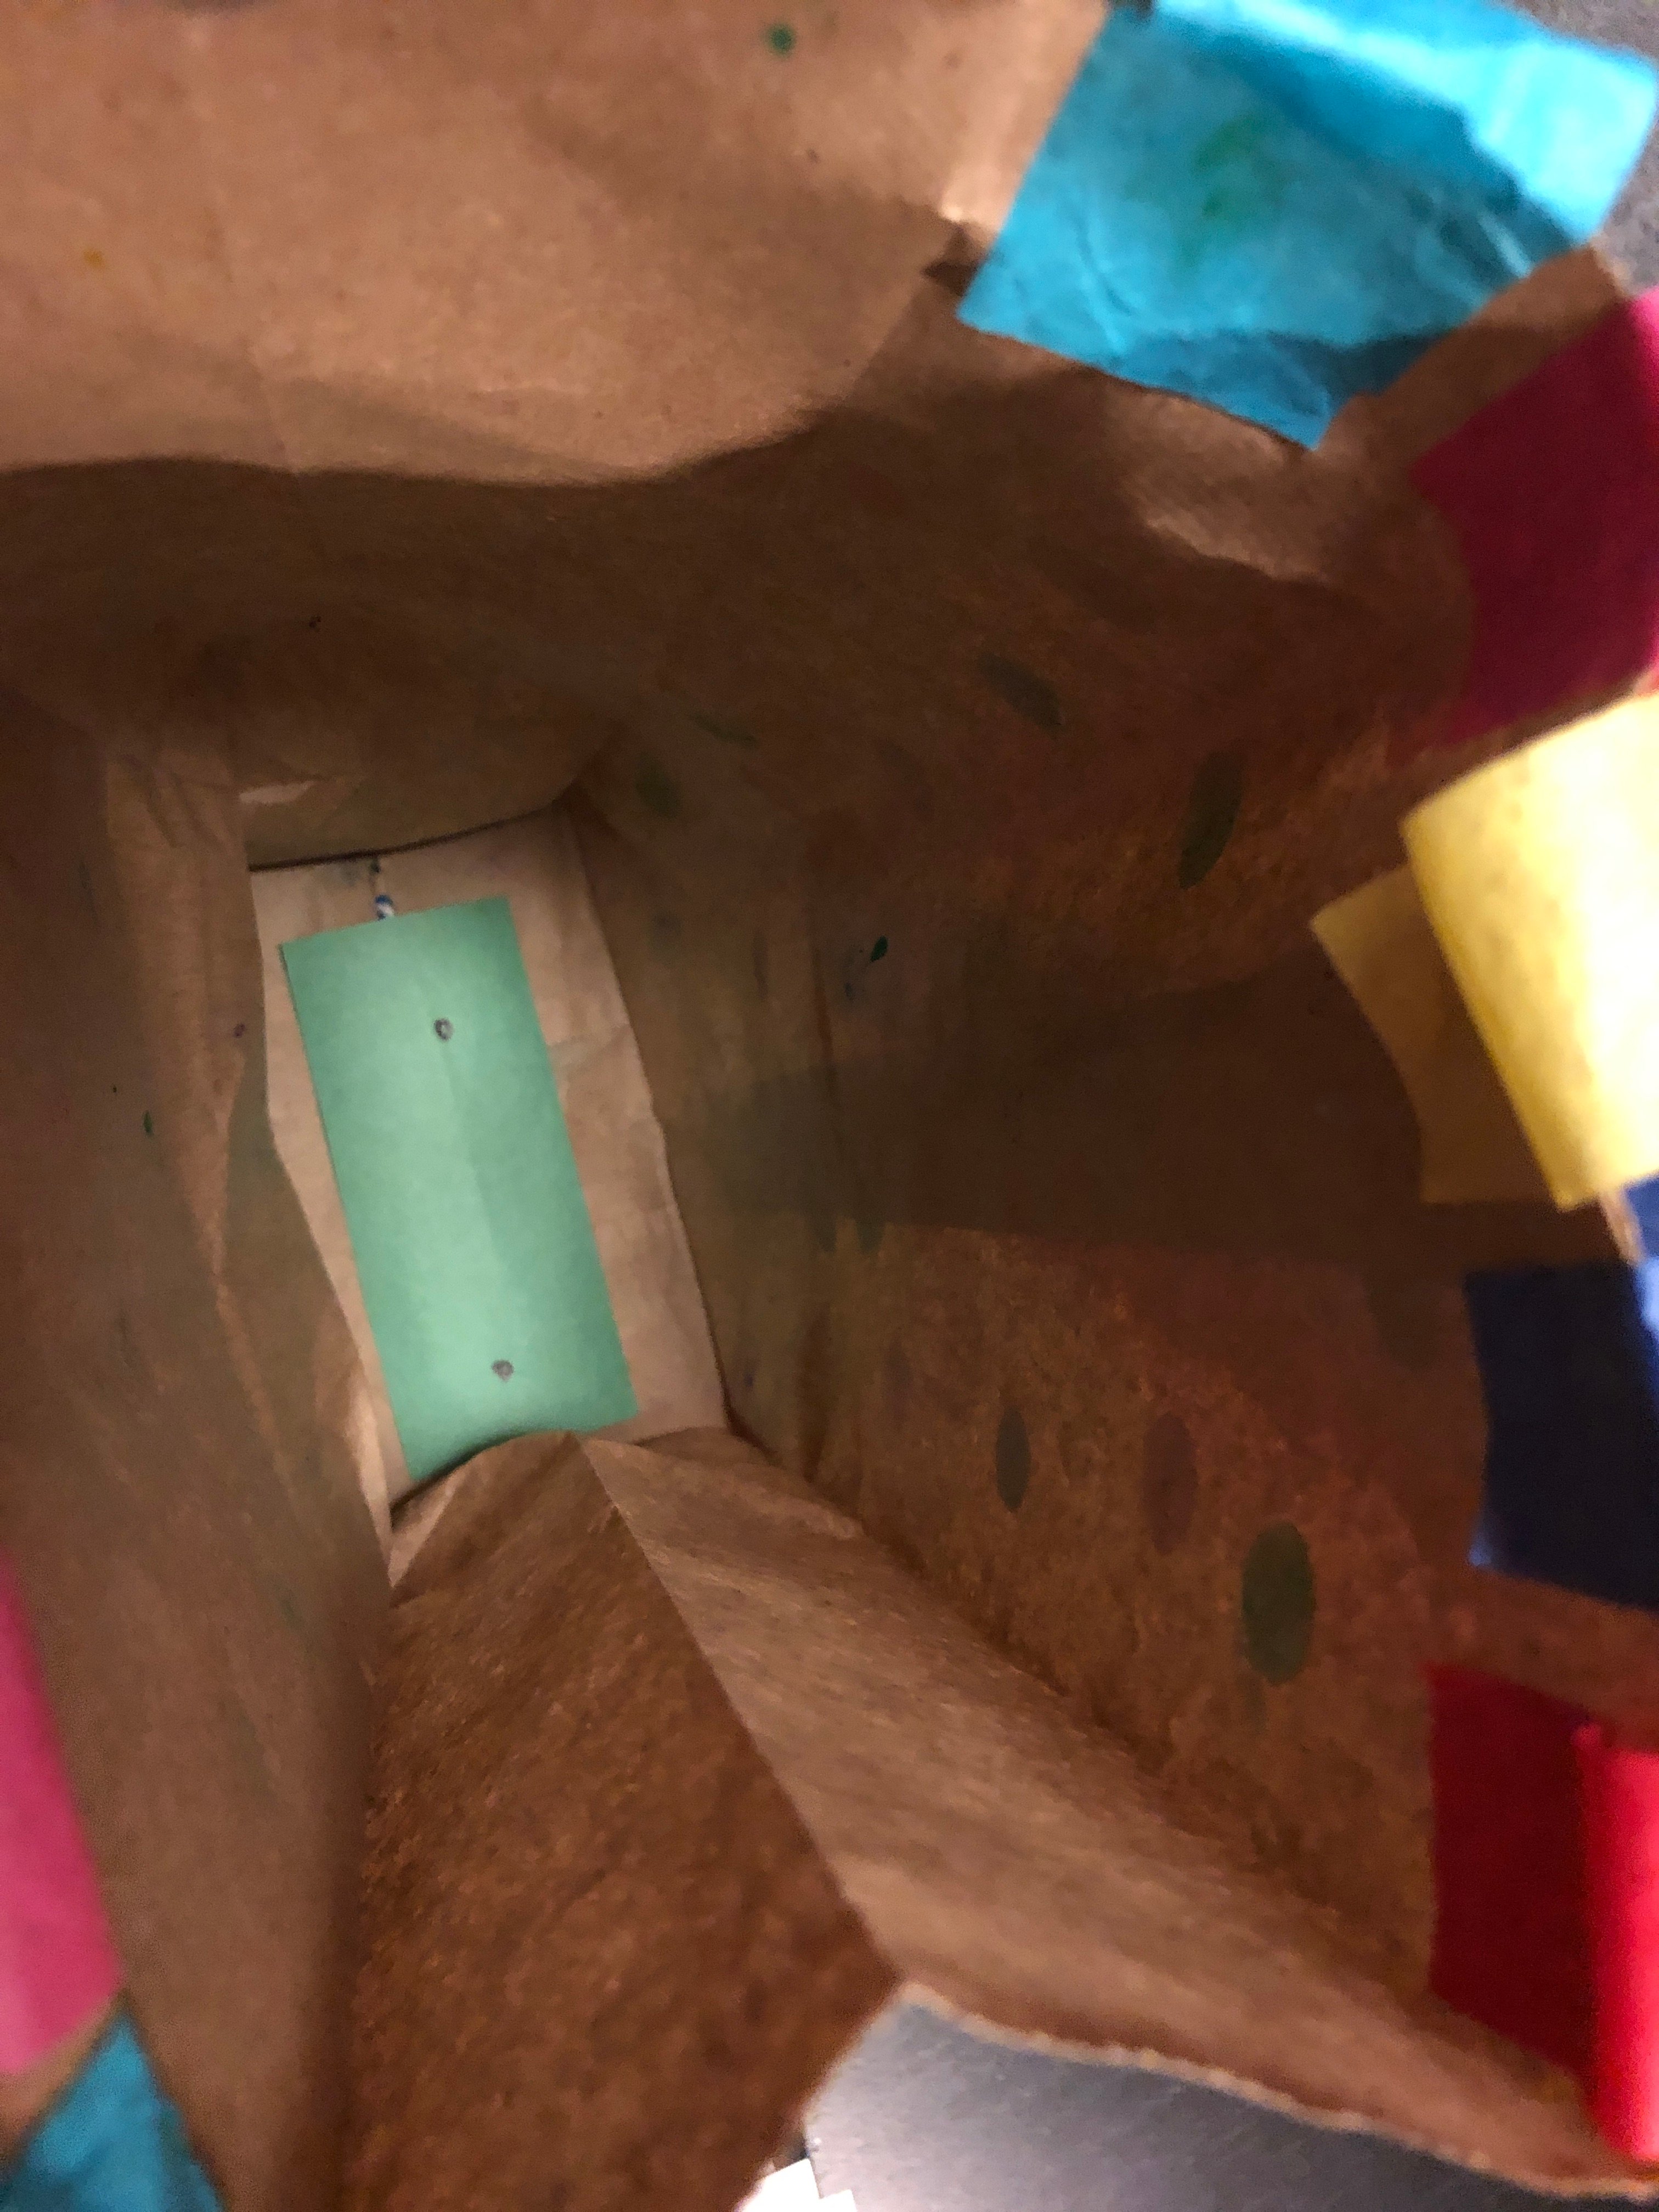
2. Cut a small piece of construction paper or cardstock to fit inside the bottom of the bag. (This will help support the bottom so it doesn't tear too easily when the string is pulled through.)
3. Open the bag and glue the piece of paper inside the bag.
4. Poke two small holes through the bottom equidistant apart.
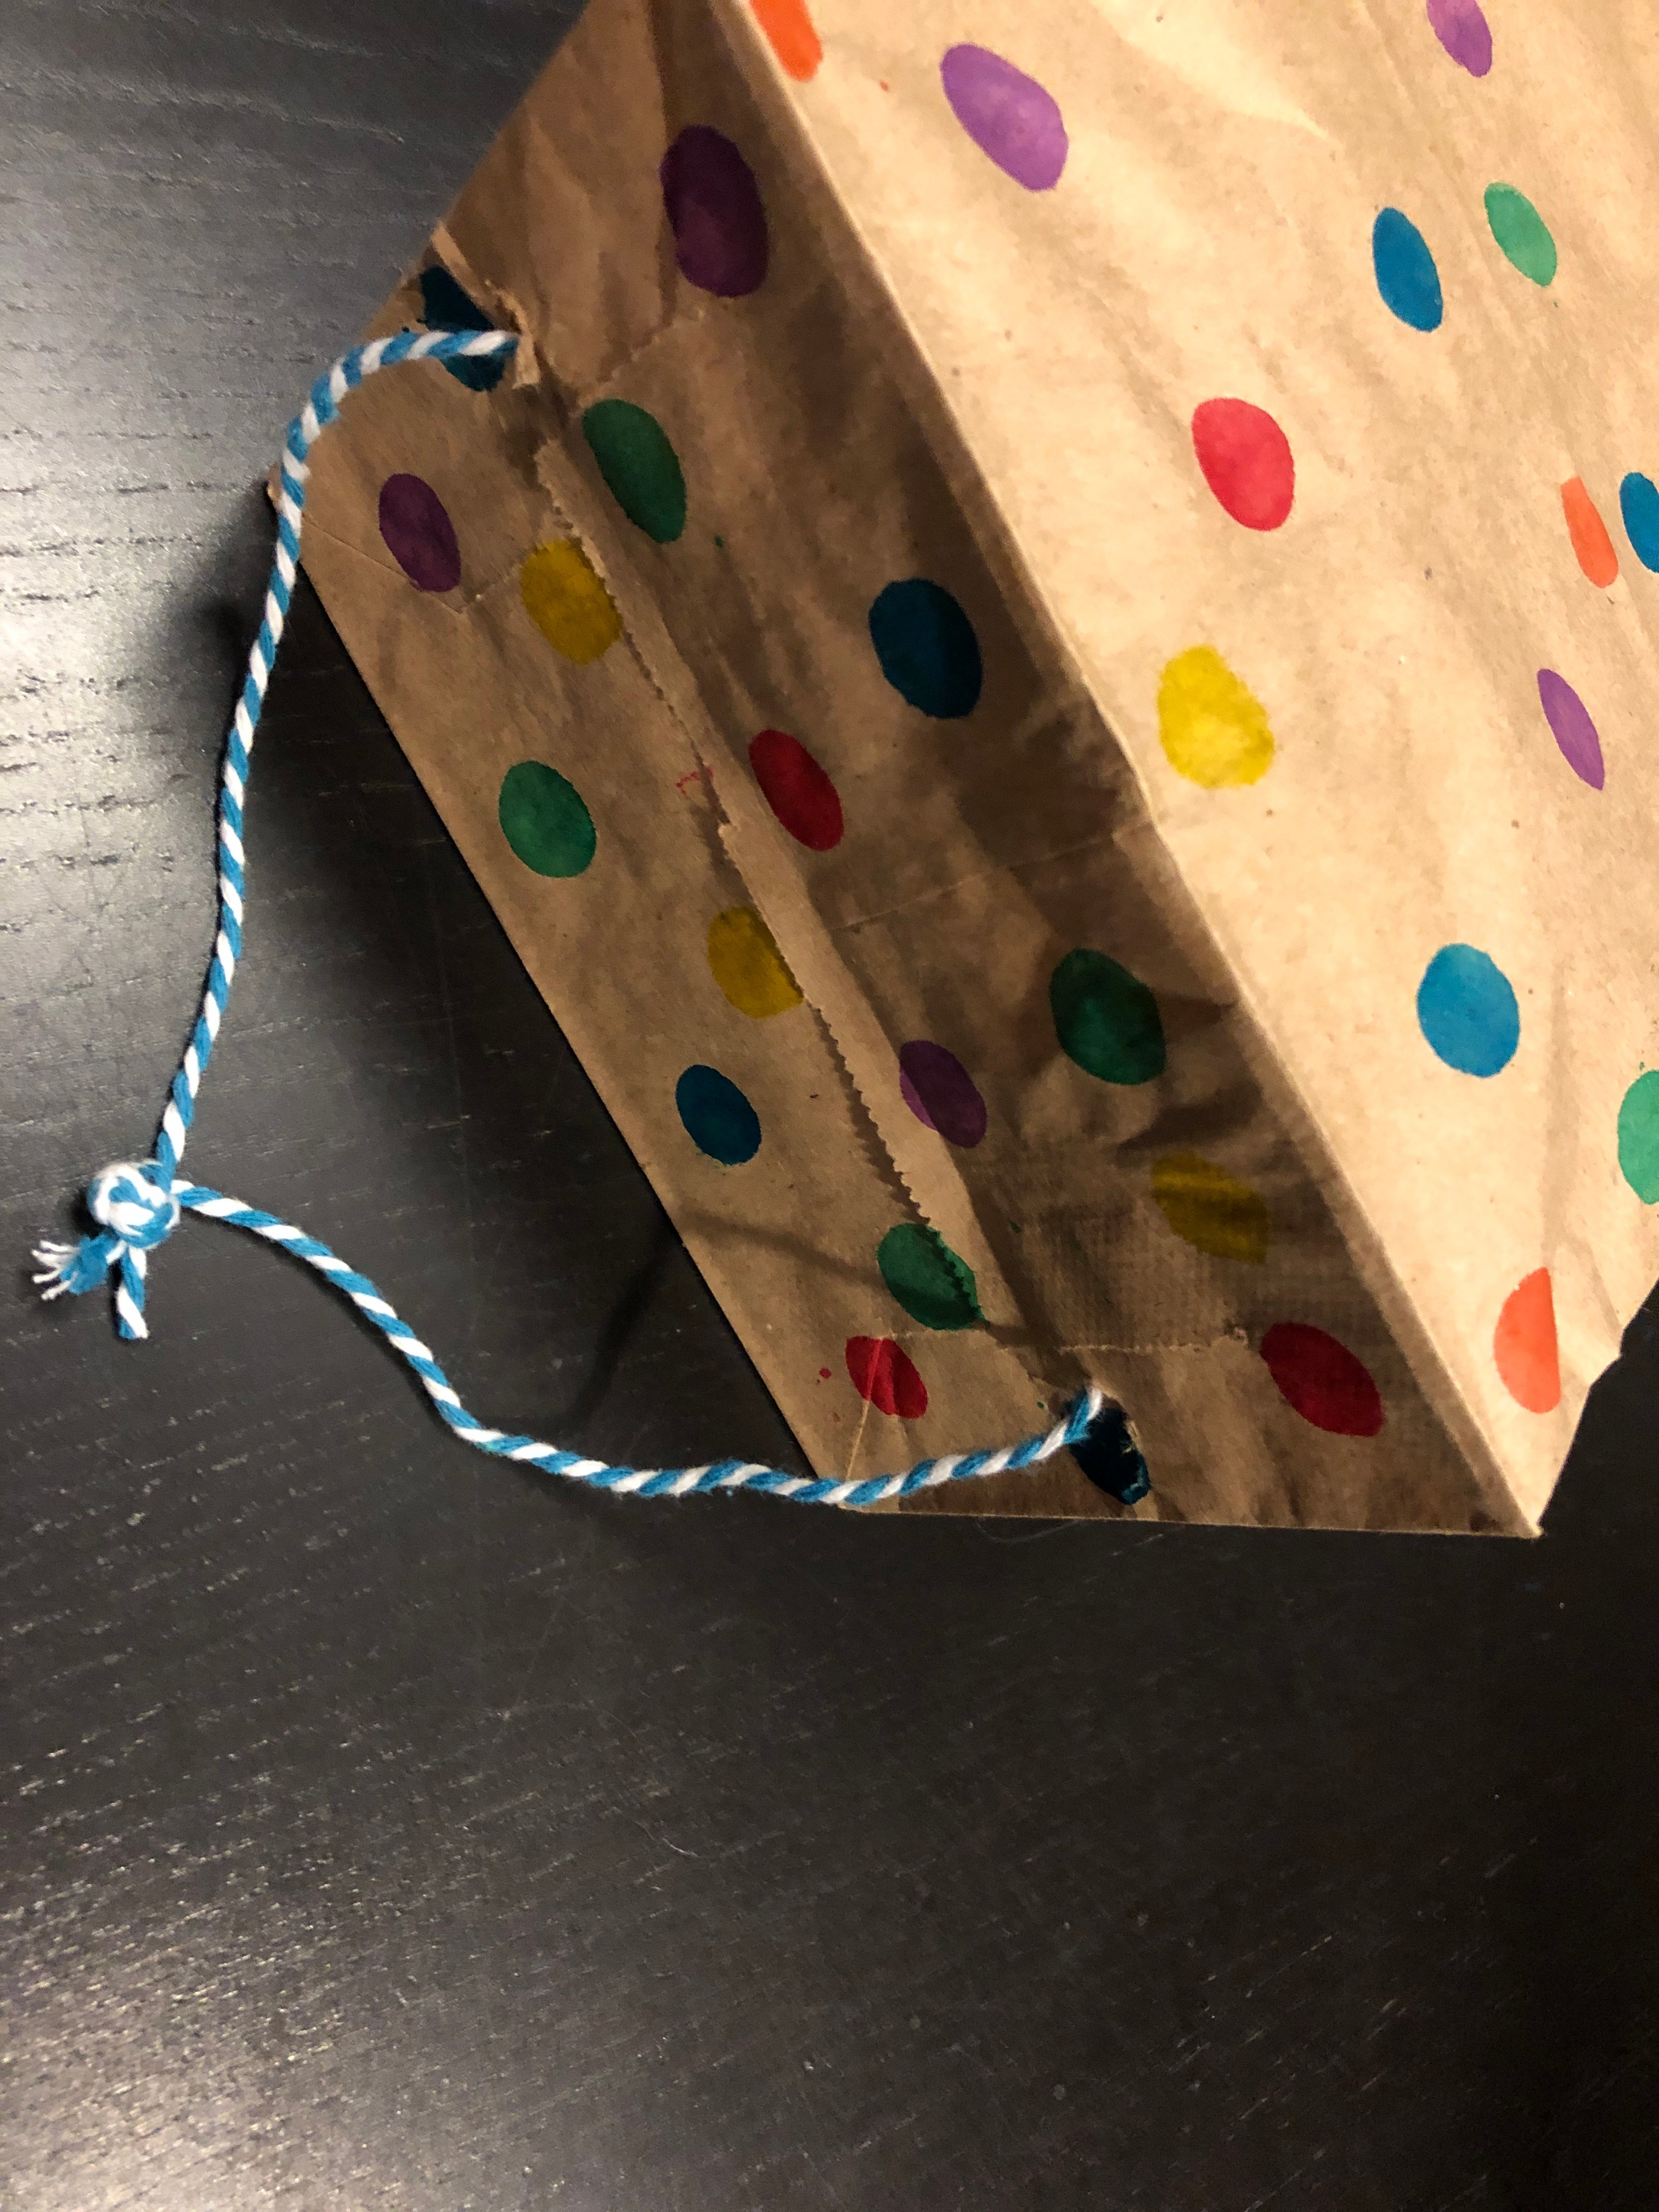
5. Run the string inside and through the holes. Take the 2 ends of the string and tie a knot.
 |  |
6. Cut 10 strips of tissue paper about 1" x 9".
7. Glue them to the inside of the open end of the bag.
 |
8. Once it is all dry, attach a long string to the knotted string on the bag.
Then open up your bag, wait for a breezy moment, and let your homemade kite fly!
Valarie Fisher is the publisher of Macaroni Kid Roseville-Rocklin-Lincoln, Calif.